Before starting the image process, I decided to study some tutorials about the method of sculpting.
I am starting from absolutely no experience with this software and I’ve never approached digital sculpting in Blender either.
It seems that the process entails layering, from the most general shapes first and then down to details.
I, therefore am going to look for basic shapes and I am going to take care of textures and details after, I want to match the silhouette from my drawings first.
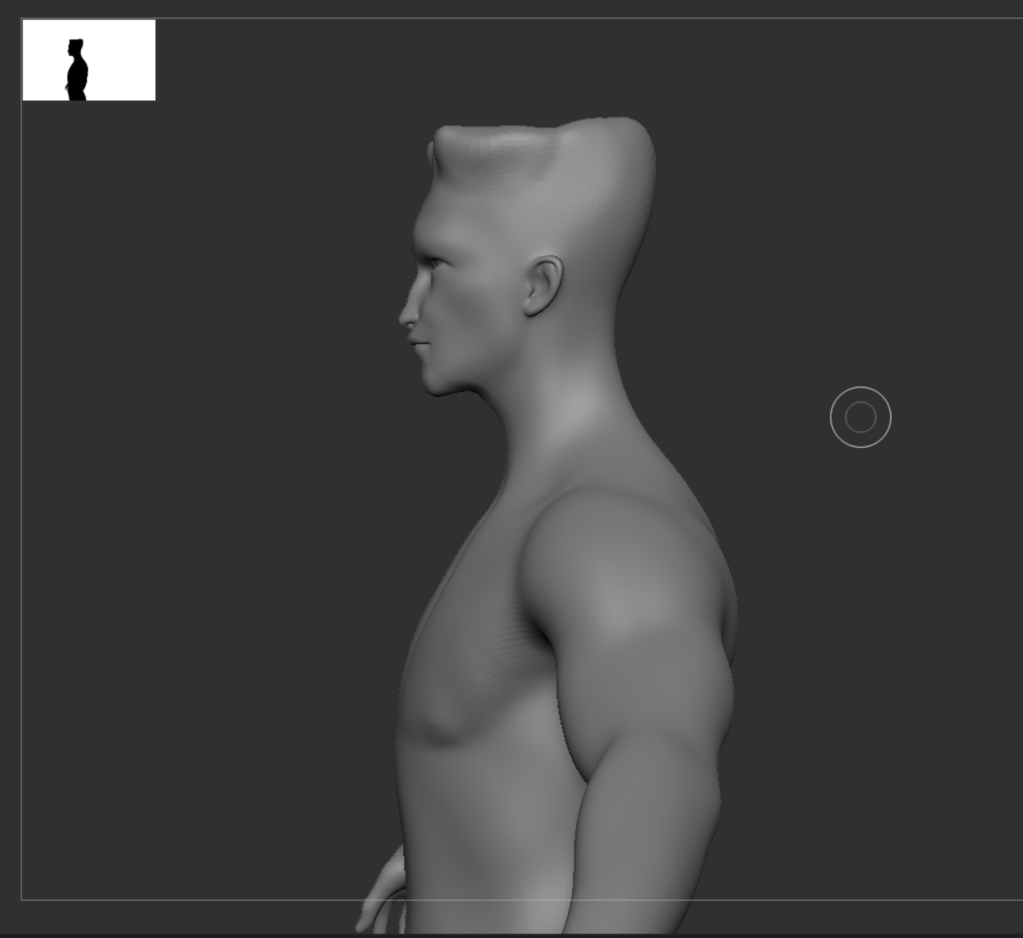
After talking with my tutor we decided to start from one basic model provided in zbrush .of the male body.
From some tutorials I found i kept informations for just what i needed and once i became more proficient with the use of the basic brushes I kept my references close and copied them.
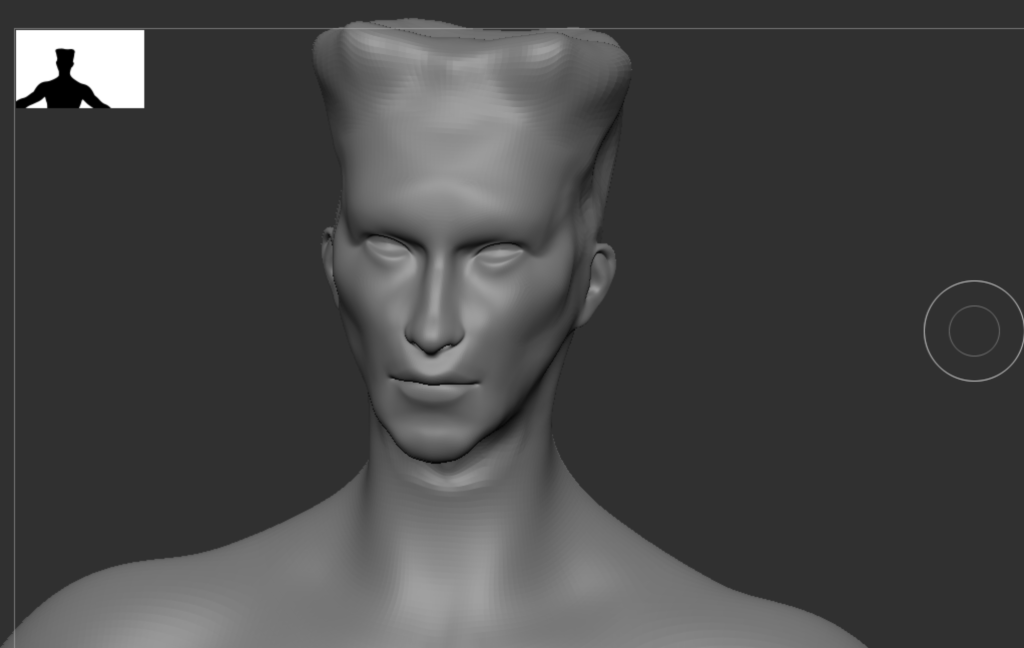
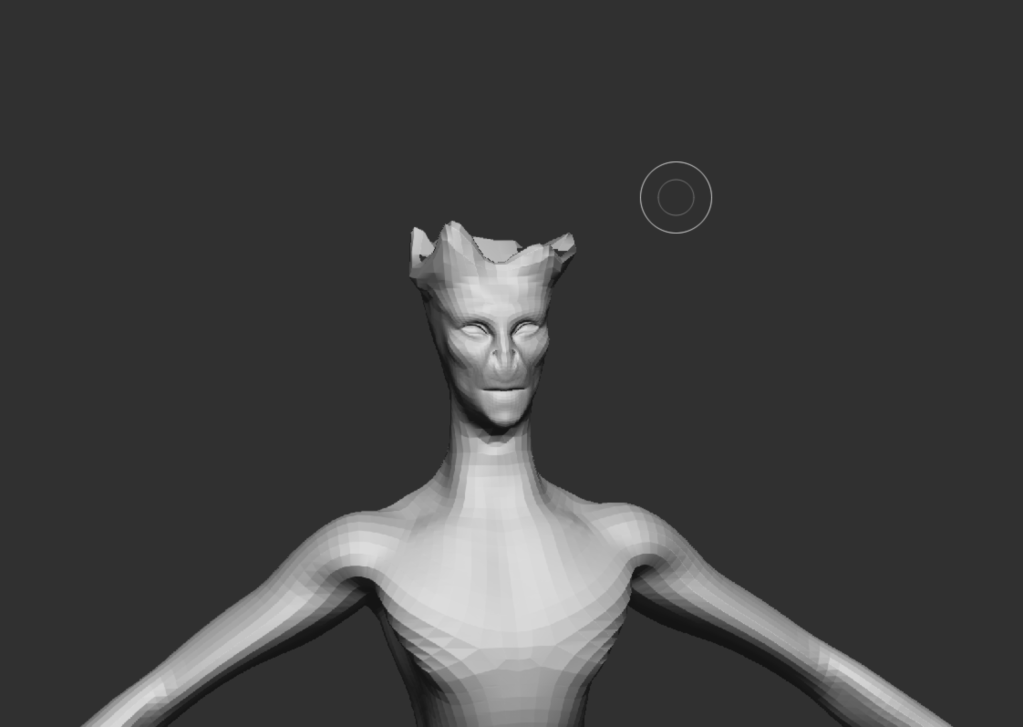
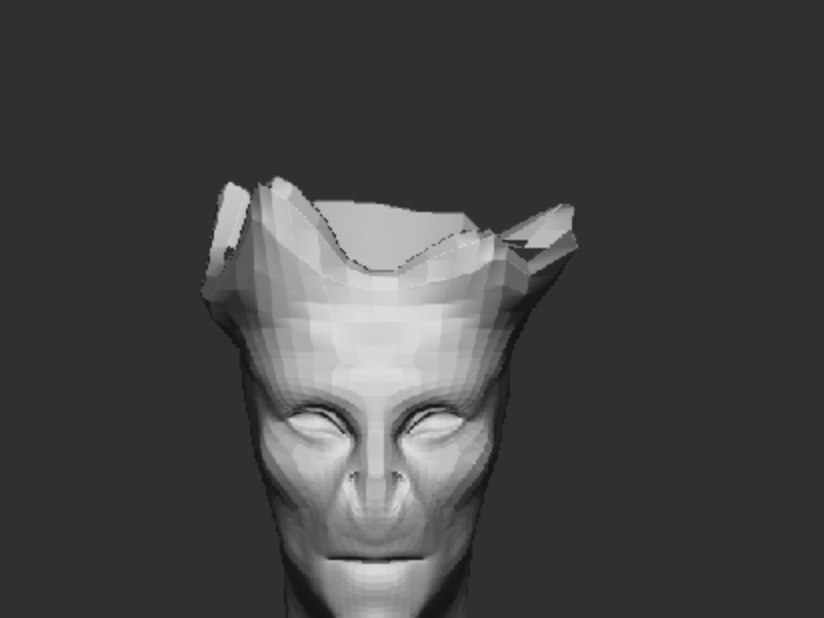
1-HEAD
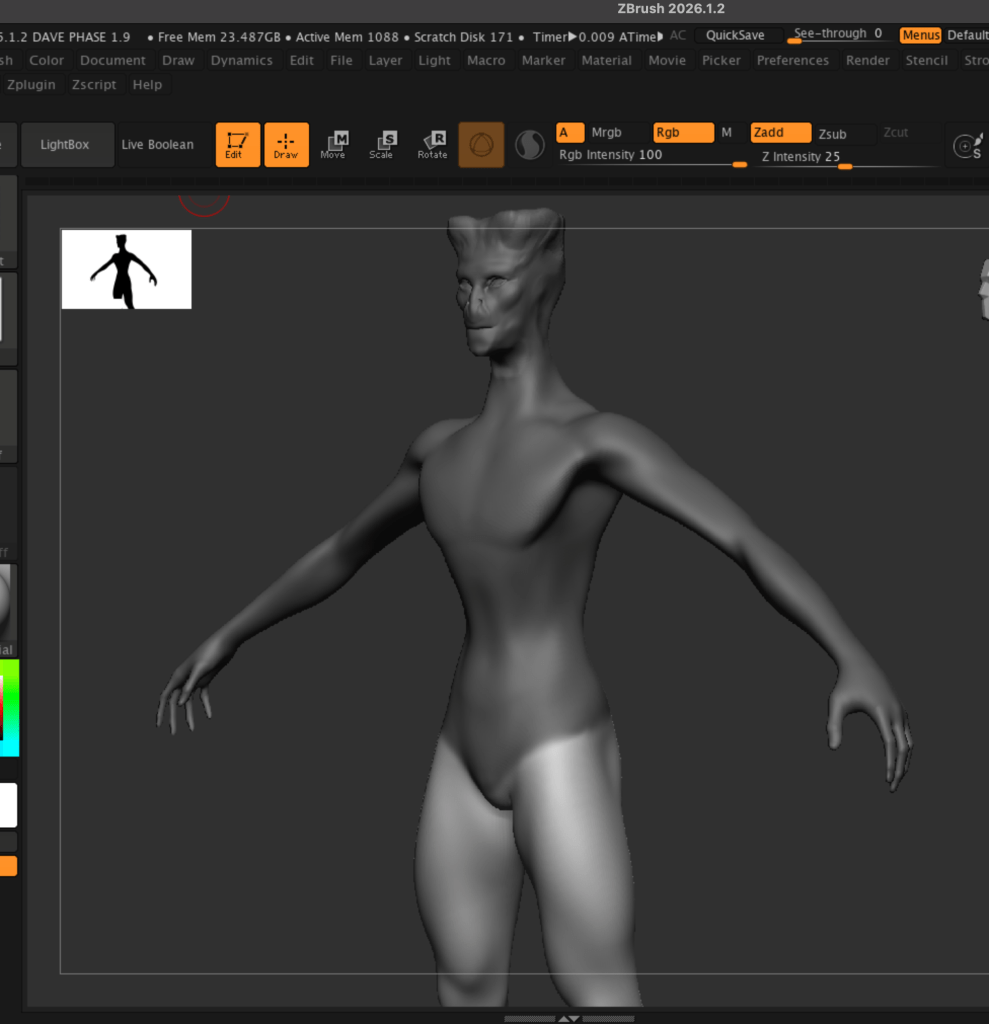
To modifiy the head I am going to elongate the male skull, shrink the jaw, widen the eye sockets,squish the nose and create some high nostrils to create some “aline like” resemblance.
I’ve got inspirations about how to modifiy the various parts from the following tutorials :
Zbrush Character Sculpting Tutorial By Edge CGI 3D : https://www.youtube.com/watch?v=Yy_B_66sB6o
Getting started with Zbrush by Maxon Zbrush tutorial series: https://youtu.be/StUEANo0CkM?si=dNojDoTkw2Hfivnx
how to sculpt a stylized head by Danny Mac : https://www.youtube.com/playlist?list=PLud7kvRn-3hhgsdUQ7NFkzG_cqc02vgyY
face sculpting tutorial by Escape Studios : https://www.youtube.com/watch?v=CA2RDeDeQXk
and also this tutorial for some of the alien-like features: https://www.youtube.com/watch?v=GzDIxMnZ_Po
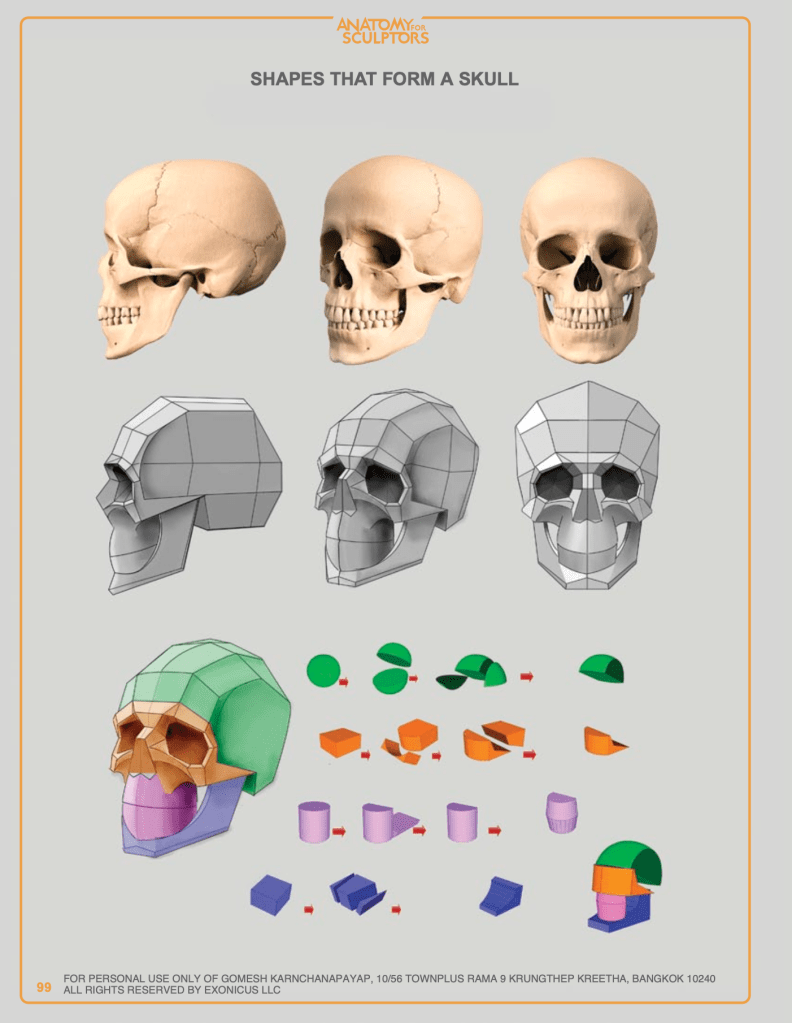
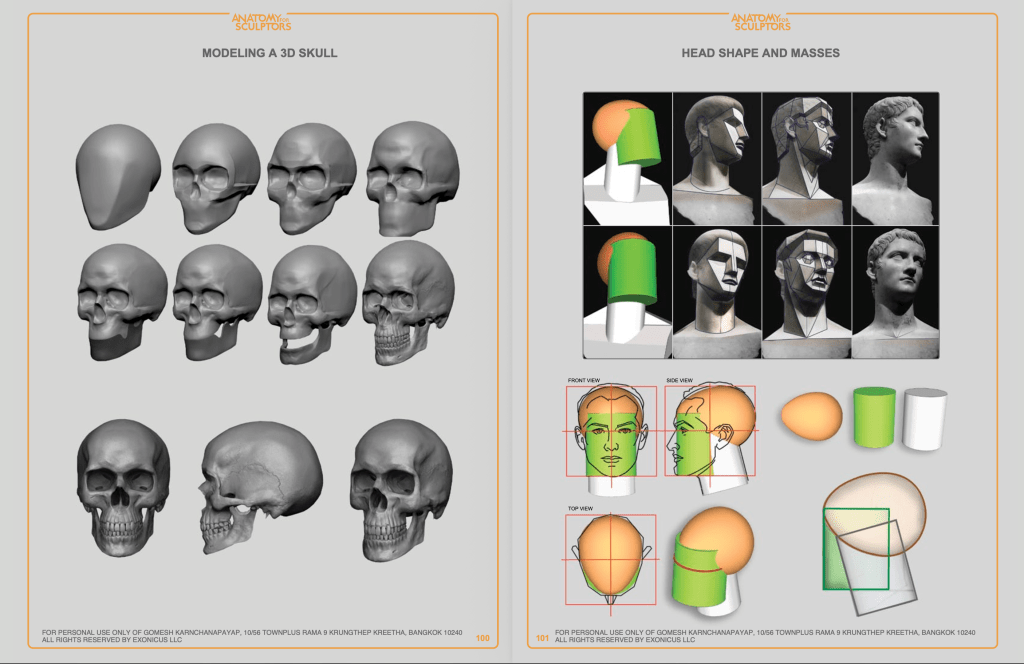
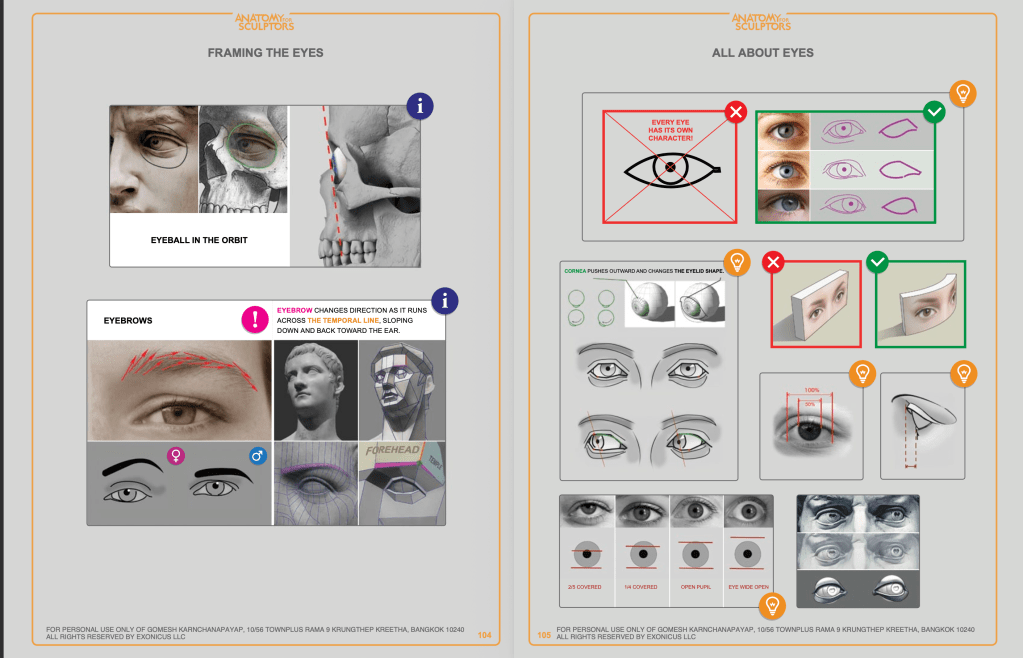
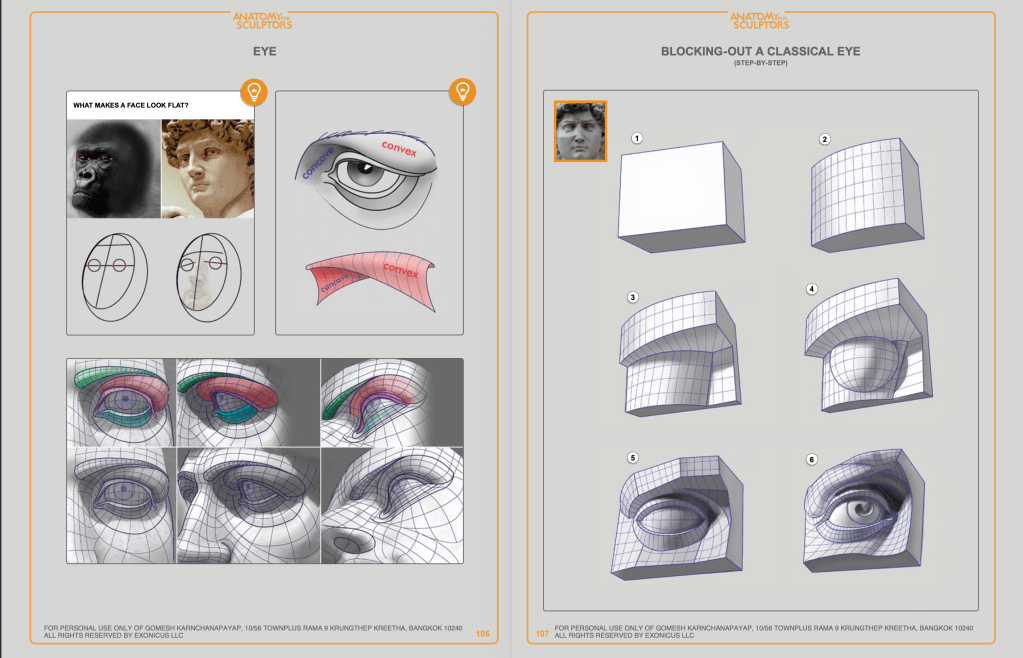
I am also keeping open in another screen some pages from the book Anatomy for Sculptors By Uldis Zarins with Sandis Kondrats.
I am focusing on the head, the different volumes of the head in order to approach it e modify it as correctly as possible.

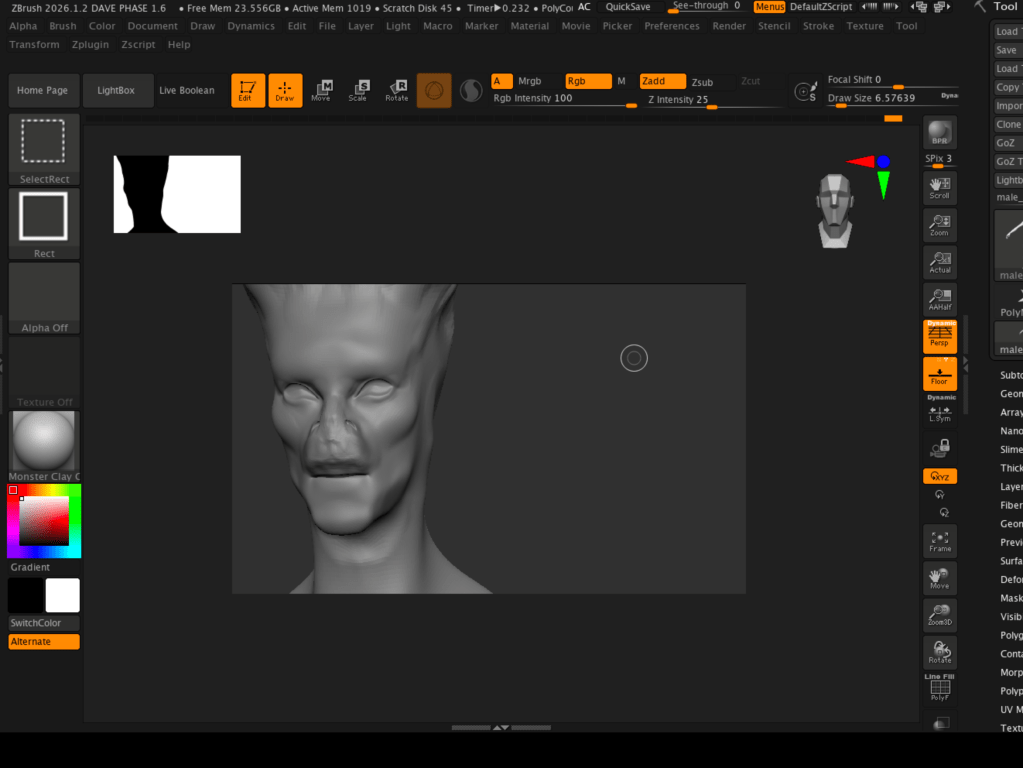
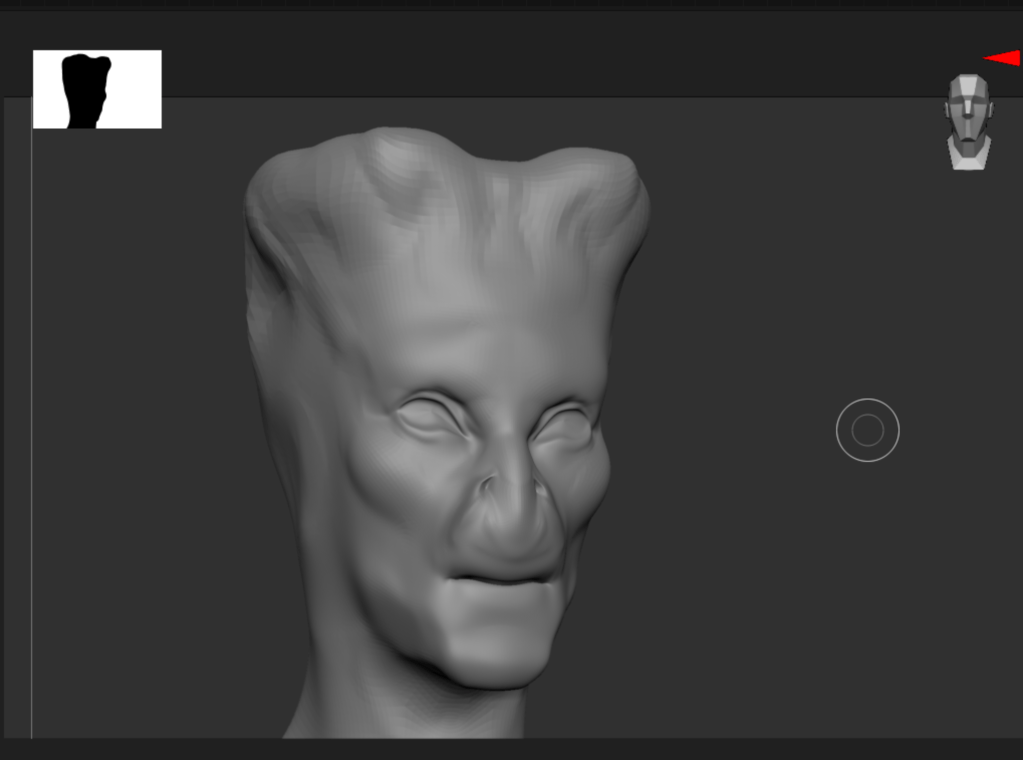
Now, let’s put everything together!
I need to reshape the overall skull using the Move brush, and push the jaw inward to make it narrower. I am going to pull the cranium slightly upward to elongate the head and create a dip where the corals are going to sprout. I am going to use a combination of the move brush, smooth, flatten, and inflate to reach the desired shape, trying to keep in mind the anatomy and make the creature coherent to a sort of “realism”.

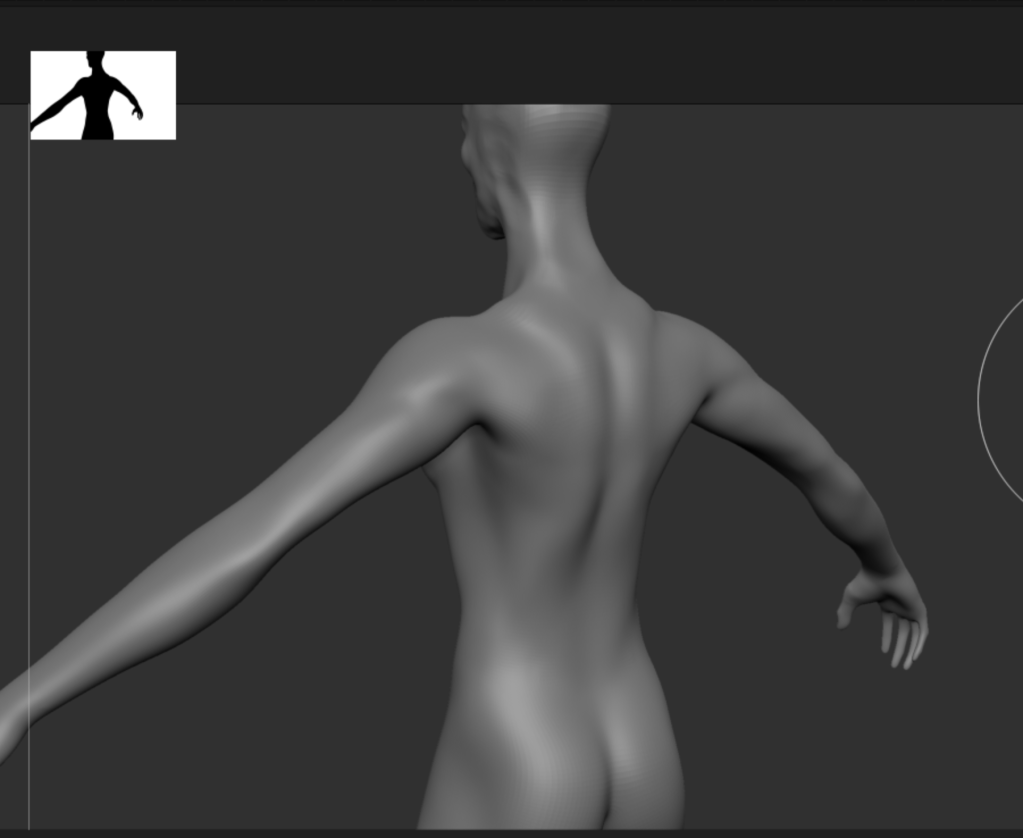
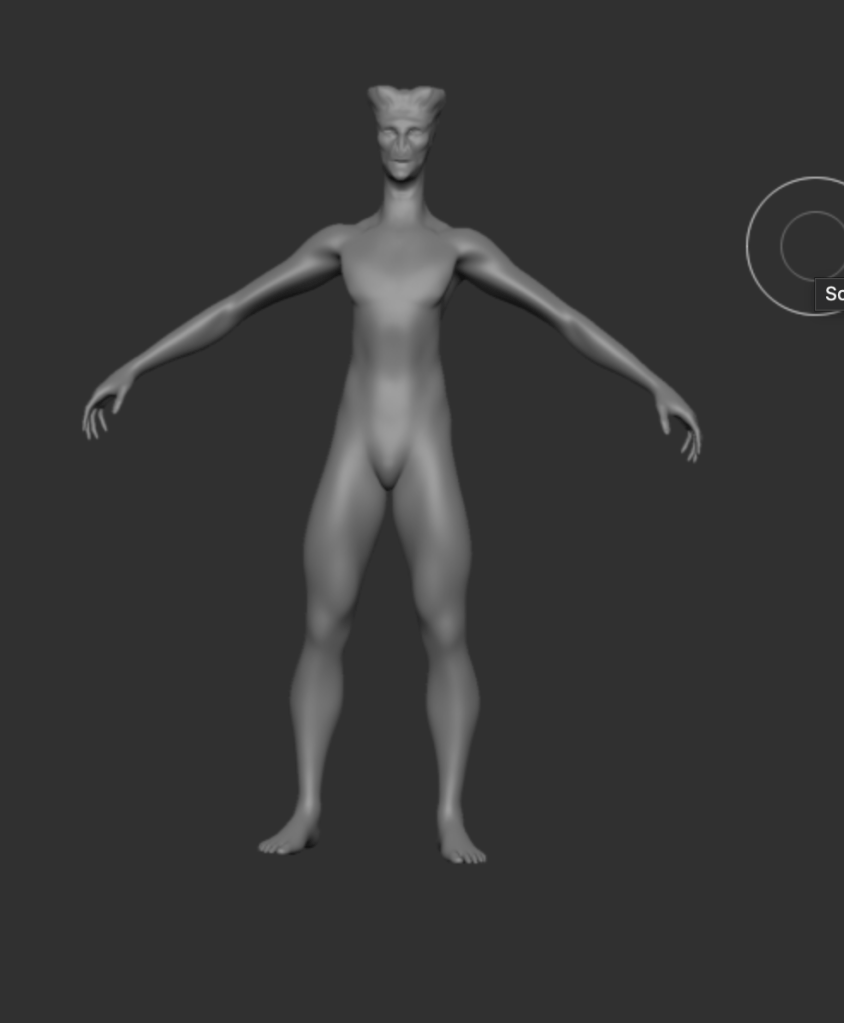
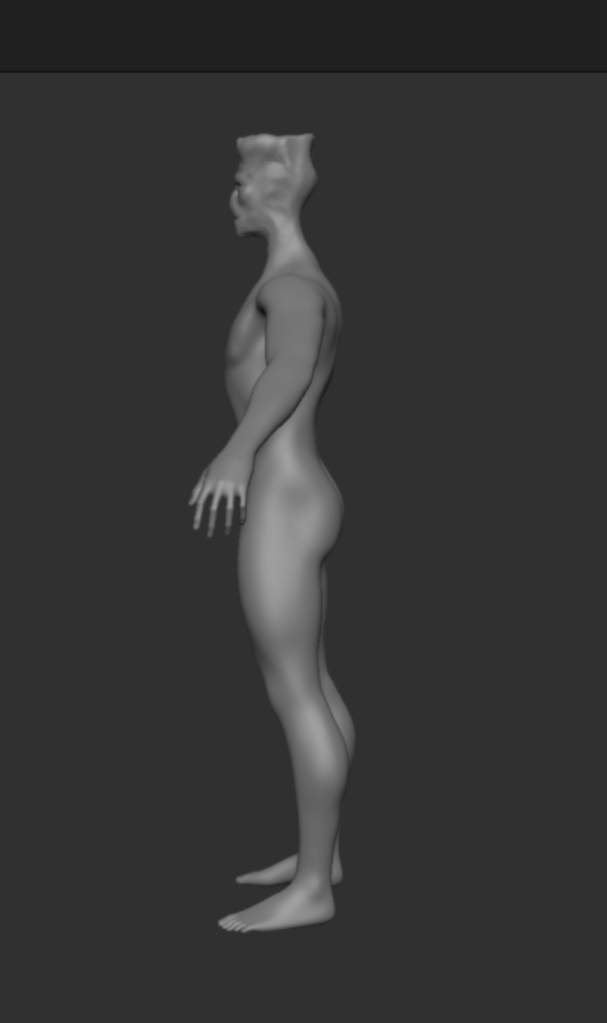
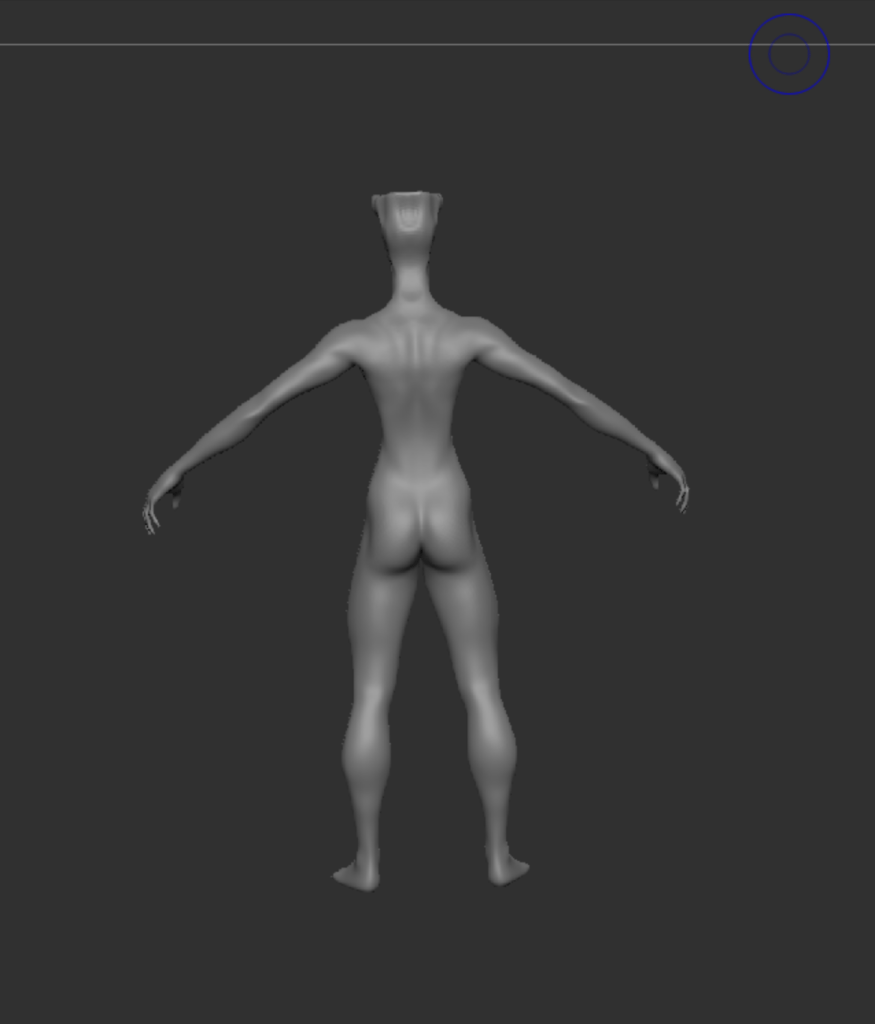
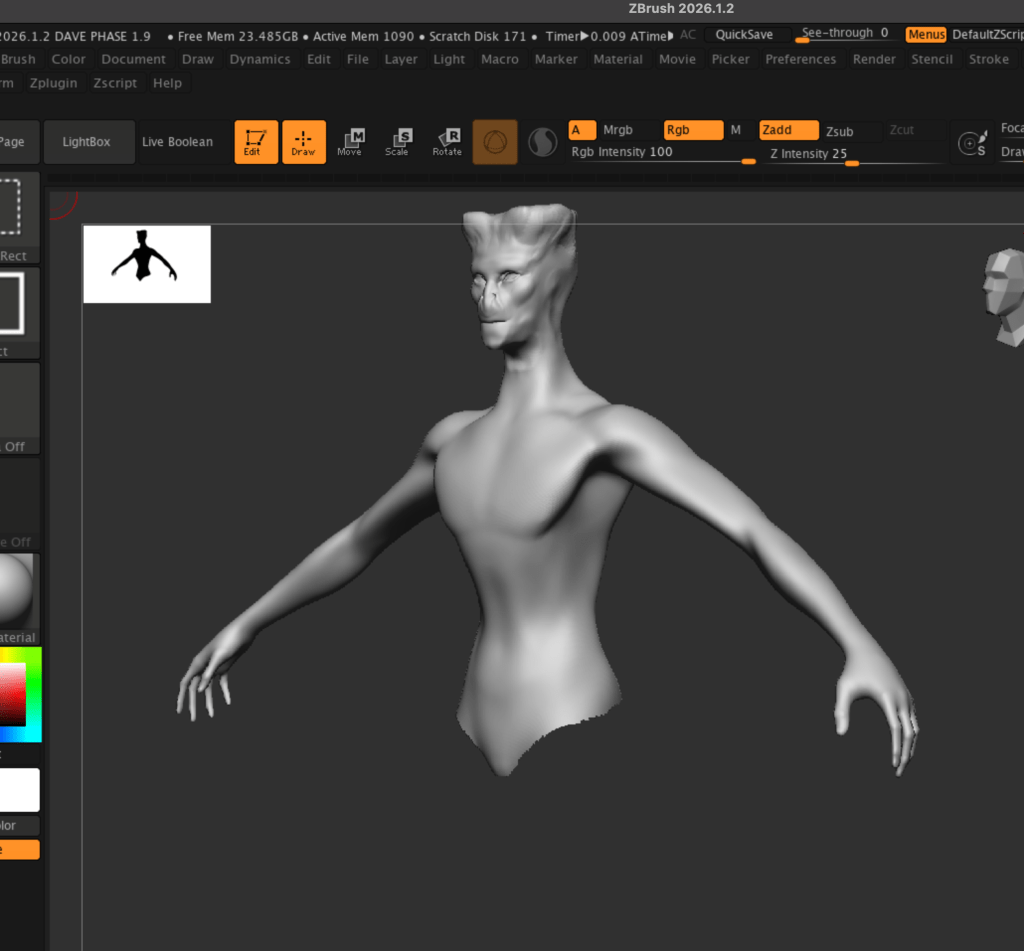
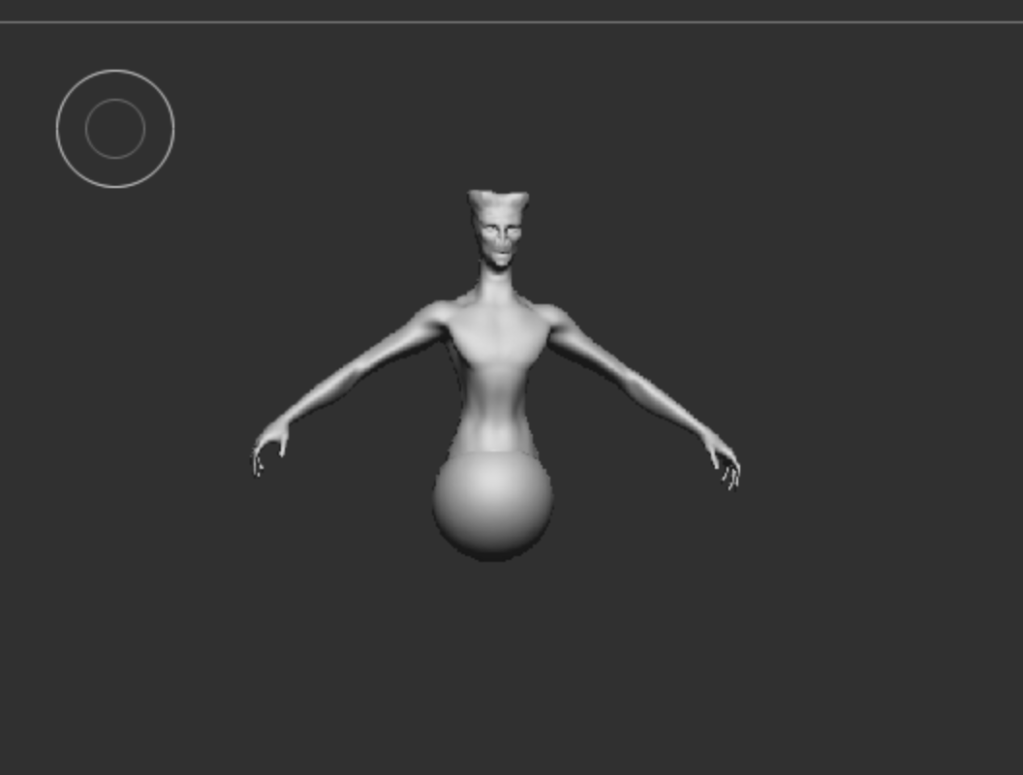
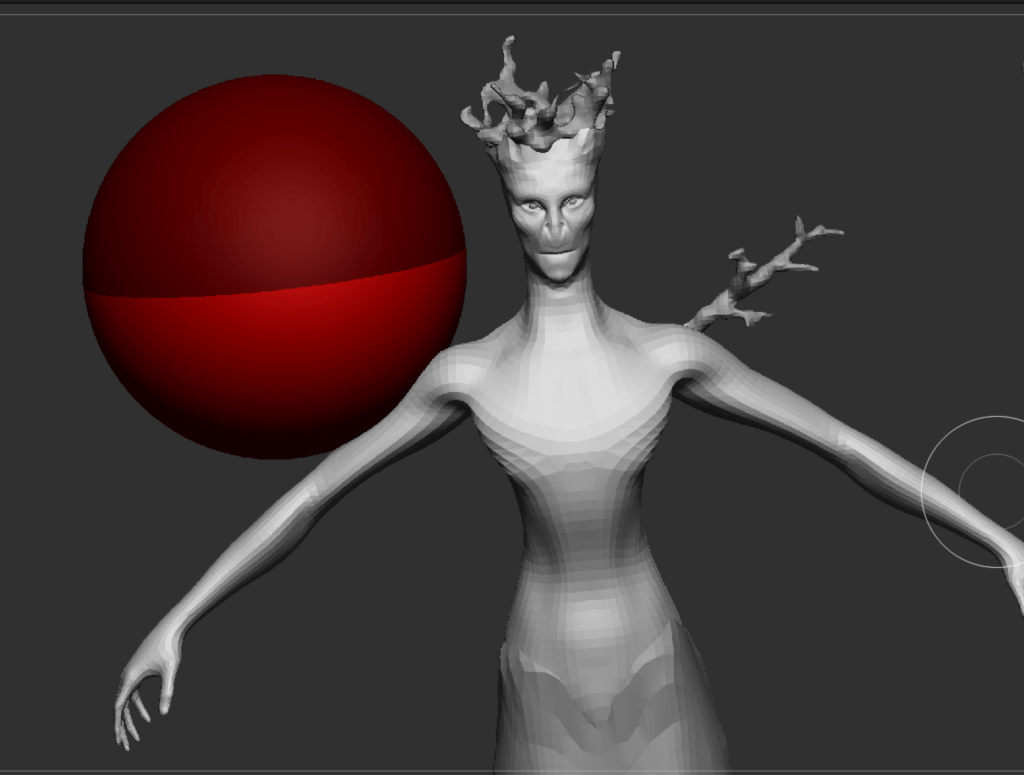
2 – BODY
For the body, I need a slim figure and elongated arms, wide shoulders, as it is a swimmer.
I proceeded to reduce the waist :

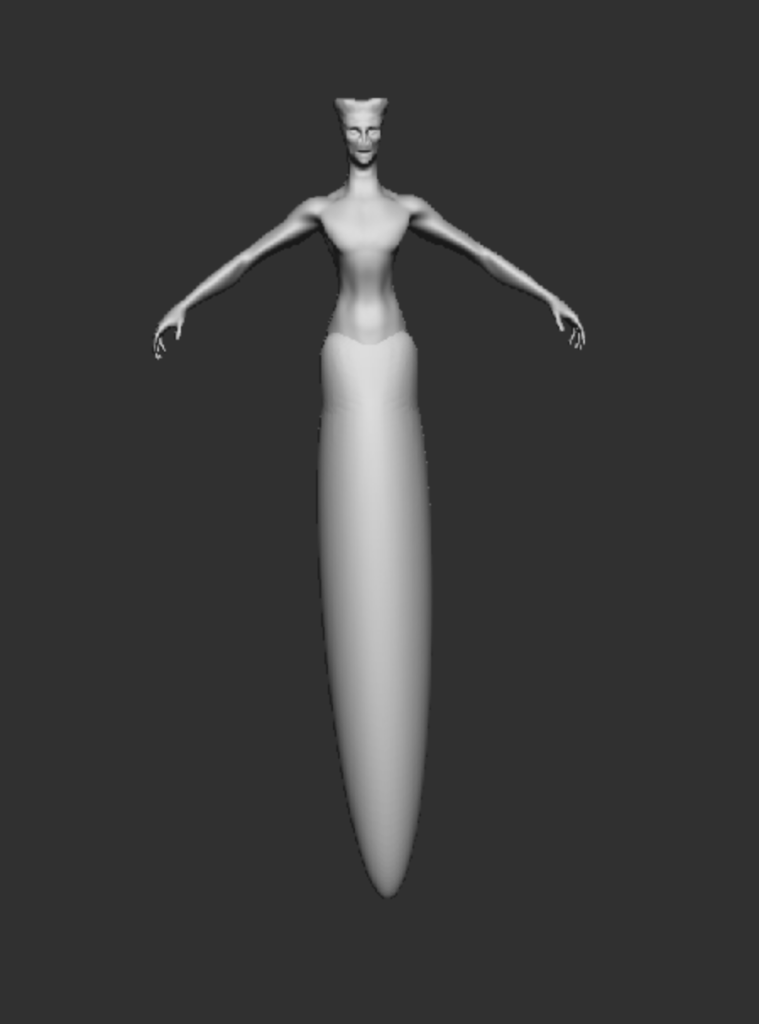
As a last step I had to erase the legs, first i Masked the legs , inverted the selection and hide the mesh. After that i deleted the hidden mesh. As a last step I filled the gap before adding the tail. I tried to be conservative and keep as much as i can group muscles that were coherent with anatomy and movement.
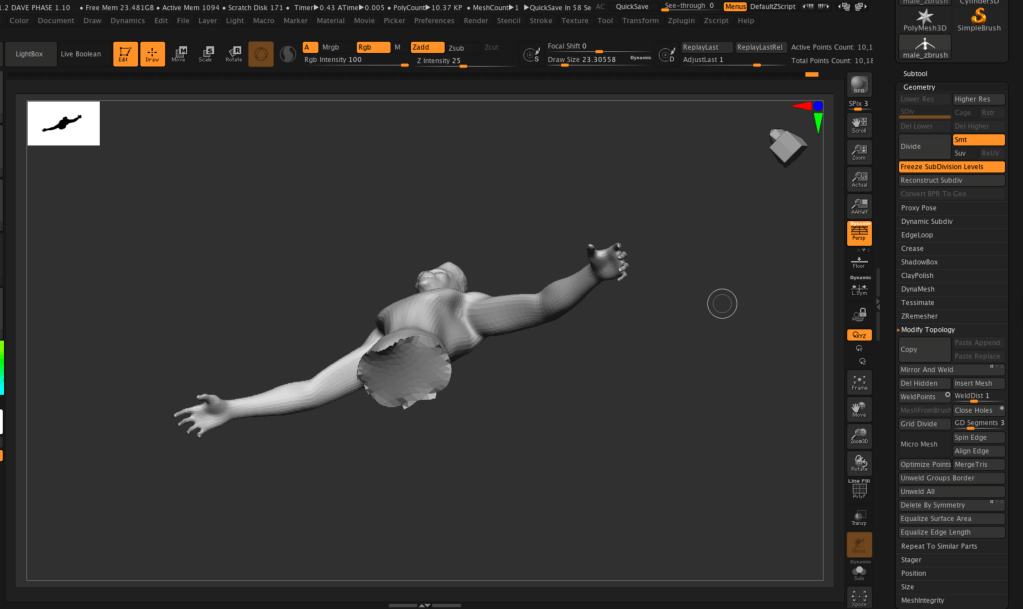
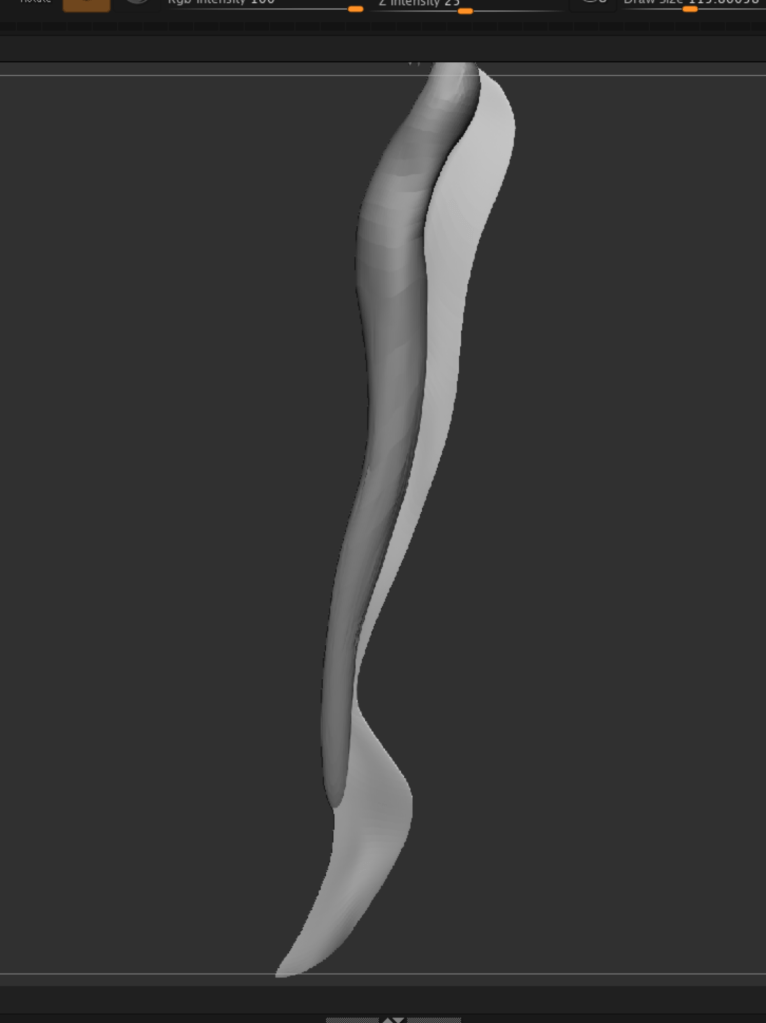
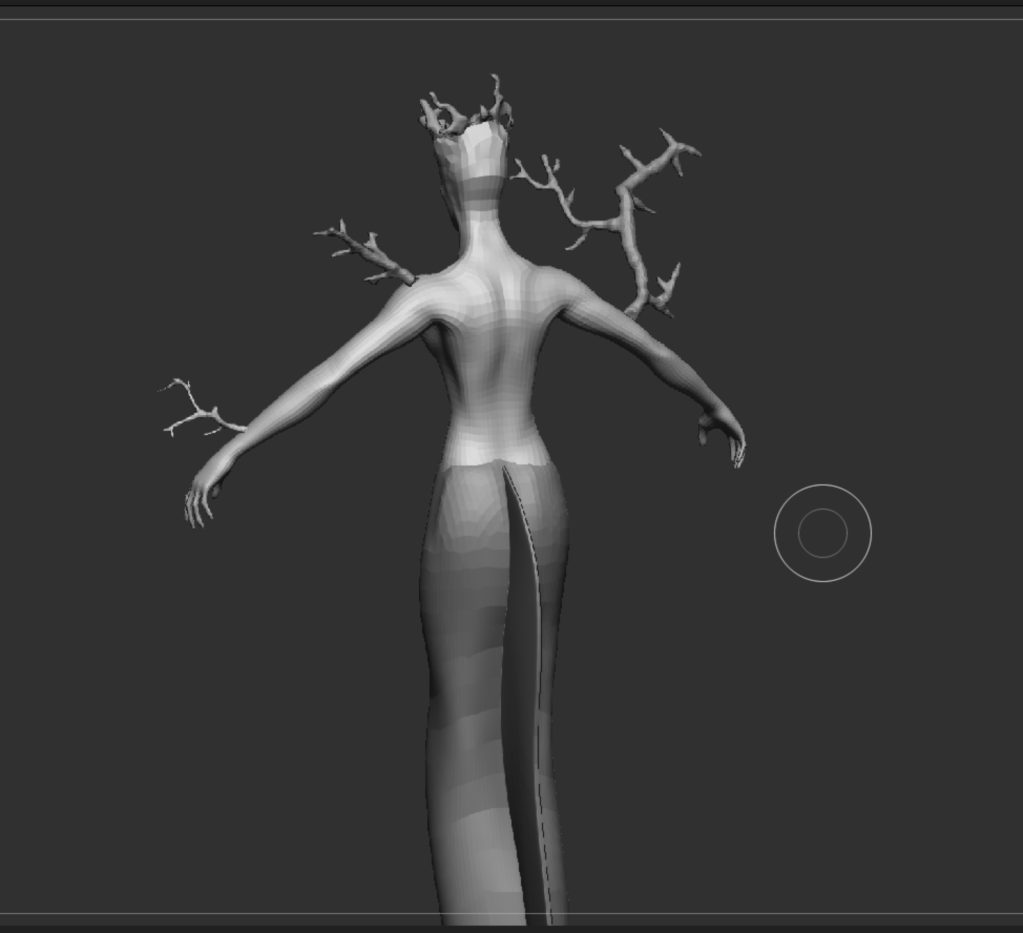
3 – TAIL AND FIN
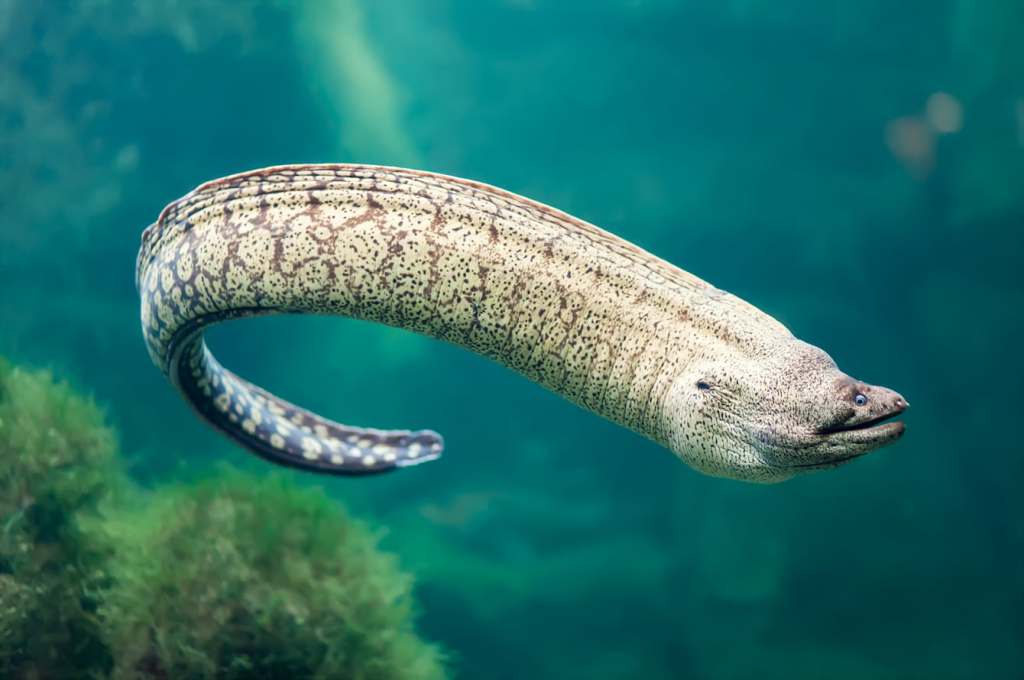
I appended a sphere, then shaped it to appear flat on the side , to remind of a moray eel kind of tail. I also shaped the fin like that of a moray eel, which is kind of flat. In order to to that I appended a square that I flattened and beveled it. i the modelled it and smoothed it out to folow the curcature of the tail. The choice of designing the tail this way is a direct consequence of the environment in which the creature is placed.

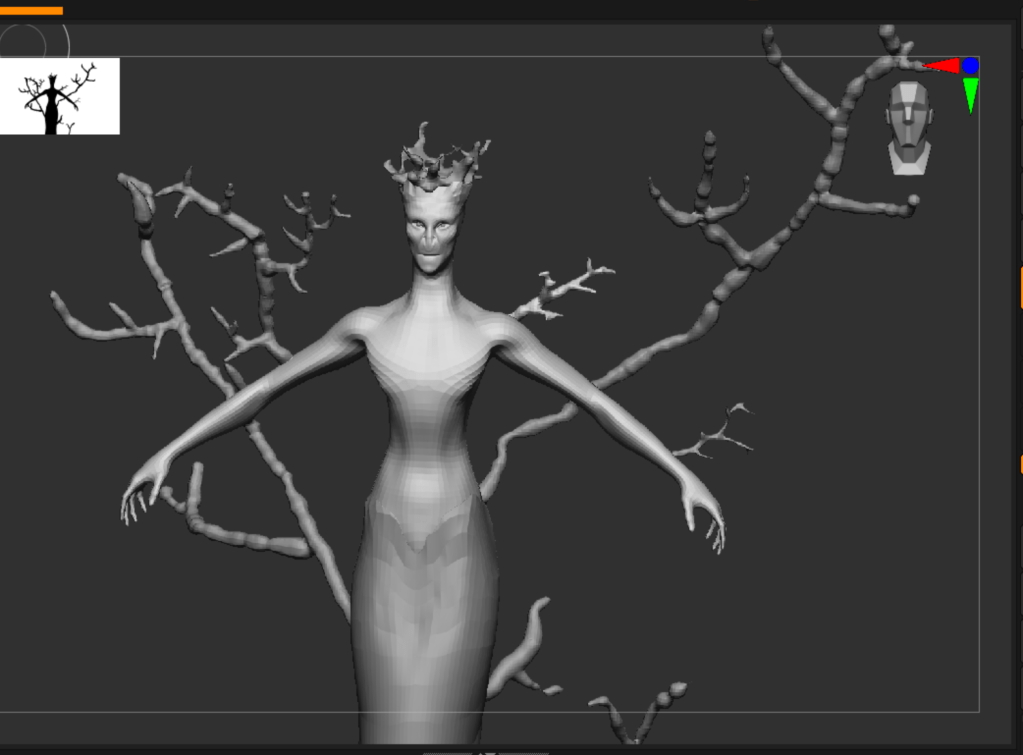
4- CORALS
To model the corals , that are a more organic form, I used Zspheres, i then turned them into mesh using adaptive skin.
First i modelled the head a bit better :
Then i proceeded creating a stack and then turning them into mesh. To position them i used my own concept art as reference.

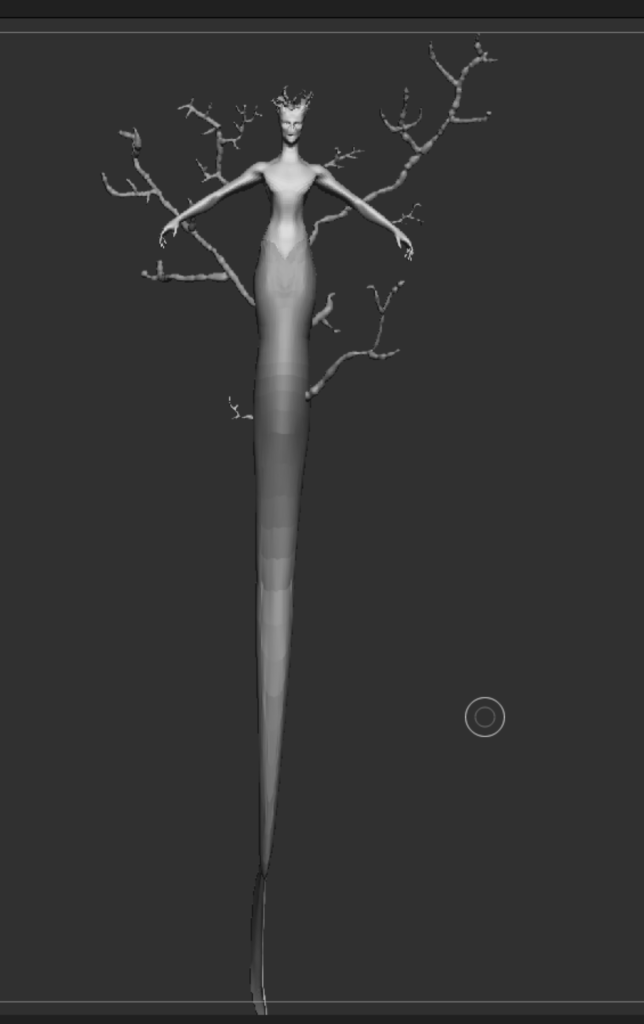
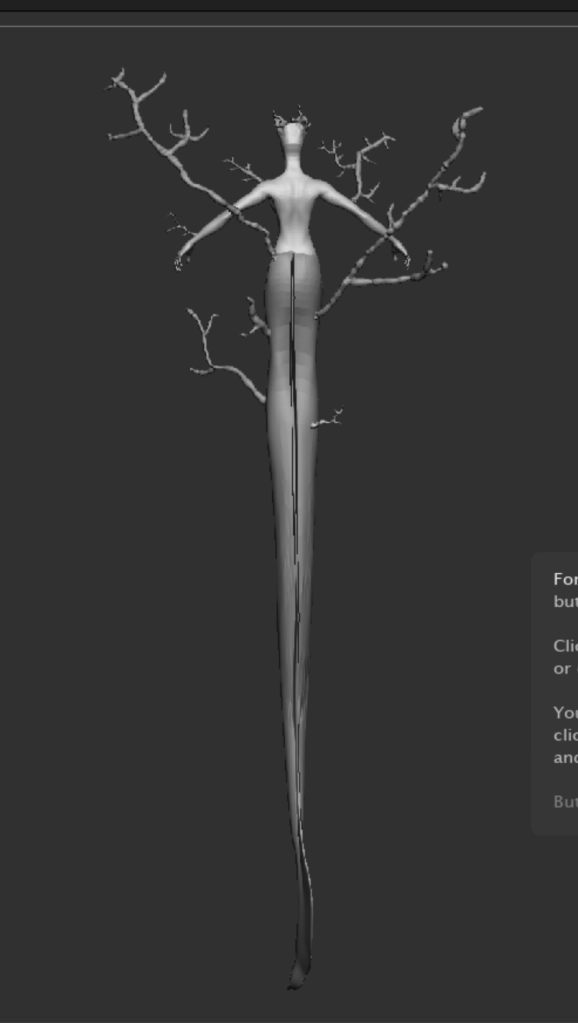
This is the final low poly shape of the creature. After this i am going to redefine the shapes a bit better, redefine a bit the corals and put everything together to texture it.
After fixing a few details


i ended up with my final model

Leave a comment